- Made by AppCoda
- Contact us / Support
- Tweet this book
- Preface
- 1. Building Adaptive User Interfaces
- 2. Creating Table View Sections and Index list with Diffable Data Source
- 3. Animating Table View Cells
- 4. Working with JSON and Codable
- 5. How to Integrate the Twitter and Facebook SDK for Social Sharing
- 6. Working with Email and Attachments
- 7. Sending SMS and MMS Using MessageUI Framework
- 8. How to Get Direction and Draw Route on Maps
- 9. Search Nearby Points of Interest Using Local Search
- 10. Audio Recording and Playback
- 11. Scan QR Code Using AVFoundation Framework
- 12. Working with URL Schemes
- 13. Building a Full Screen Camera with Gesture-based Controls
- 14. Video Capturing and Playback Using AVKit
- 15. Displaying Banner Ads using Google AdMob
- 16. Working with Custom Fonts
- 17. Working with AirDrop, UIActivityViewController and Uniform Type Identifiers
- 18. Building Grid Layouts Using Collection Views and Diffable Data Source
- 19. Interacting with Collection Views
- 20. Adaptive Collection Views Using UITraitCollection and Compositional Layout
- 21. Building a Weather Widget Using WidgetKit
- 22. Building Slide Out Sidebar Menus Using Objective-C Libraries
- 23. View Controller Transitions and Animations
- 24. Building a Slide Down Menu
- 25. Self Sizing Cells and Dynamic Type
- 26. XML Parsing, RSS and Expandable Table View Cells
- 27. Applying a Blurred Background Using UIVisualEffect
- 28. Using Touch ID and Face ID For Authentication
- 29. Building a Carousel-Like User Interface
- 30. Working with Parse
- 31. Parsing CSV and Preloading a SQLite Database Using Core Data
- 32. Connecting Multiple Annotations with Polylines and Routes
- 33. Using CocoaPods in Swift Projects
- 34. Building a Simple Sticker App
- 35. Building iMessage Apps Using Messages Framework
- 36. Building Custom UI Components Using IBDesignable and IBInspectable
- 37. Using Firebase for User Authentication
- 38. Google and Facebook Authentication Using Firebase
- 39. Using Firebase Database and Storage to Build an Instagram-like App
- 40. Building a Real-time Image Recognition App Using Core ML
- 41. Building AR Apps with ARKit and SpriteKit
- 42. Working with 3D Objects in Augmented Reality Using ARKit and SceneKit
- 43. Use Create ML to Train Your Own Machine Learning Model for Image Recognition
- 44. Building a Sentiment Classifier Using Create ML to Classify User Reviews
- 45. Working with Image Tracking Using ARKit
- Published with GitBook
Chapter 33
Using CocoaPods in Swift Projects
Understanding CocoaPods, a dependency manager for Swift and Objective-C projects, is a critical skill every iOS developer should have. If you have no experience with CocoaPods, this chapter is written for you.
We’re going to take a look at what CocoaPods is, why you should start using it, and how to setup a project with cocoa pods installed!
What is CocoaPods?
First things first, what is CocoaPods? CocoaPods is the dependency manager for your Xcode projects. It helps developers manage the library dependencies in any Xcode projects.
The dependencies for your projects are specified in a single text file called a Podfile. CocoaPods will resolve dependencies between libraries, fetch the resulting source code, then link it together in an Xcode workspace to build your project.
You may be confused what this means to you. Let's consider an example.
Suppose you want to integrate your app with Google AdMob for monetisation. AdMob uses the Google Mobile Ads SDK (which is now part of the Firebase SDK). To display ad banners in your apps, the first thing you need is to install the SDK into your Xcode project.
The old fashioned way of doing the integration is to download the Google Mobile Ads SDK from Google and install it into your Xcode project manually. The problem is that the whole procedures are complicated, and the SDK also depends on other frameworks to function properly. Just take a look at the manual procedures as provided by Google:
- Find the desired SDK in the list.
- Make sure you have an Xcode project open in Xcode.
- In Xcode, hit
⌘-1to open the Project Navigator pane. It will open on left side of the Xcode window if it wasn't already open.- Drag each framework from the "Analytics" directory into the Project Navigator pane. In the dialog box that appears, make sure the target you want the framework to be added to has a checkmark next to it, and that you've selected "Copy items if needed". If you already have Firebase frameworks in your project, make sure that you replace them with the new versions.
- Drag each framework from the directory named after the SDK into the Project Navigator pane. Note that there may be no additional frameworks, in which case this directory will be empty. For instance, if you want the Database SDK, look in the Database folder for the required frameworks. In the dialog box that appears, make sure the target you want this framework to be added to has a checkmark next to it, and that you've selected "Copy items if needed."
- If the SDK has resources, go into the Resources folders, which will be in the SDK folder. Drag all of those resources into the Project Navigator, just like the frameworks, again making sure that the target you want to add these resources to has a checkmark next to it, and that you've selected "Copy items if needed".
- Add the -ObjC flag to "Other Linker Settings": a. In your project settings, open the Settings panel for your target b. Go to the Build Settings tab and find the "Other Linking Flags" setting in the Linking section. c. Double-click the setting, click the '+' button, and add "-ObjC"
- Drag the
Firebase.hheader in this directory into your project. This will allow you to#import "Firebase.h"and start using any Firebase SDK that you have.- If you're using Swift, or you want to use modules, drag module.modulemap into your project and update your User Header Search Paths to contain the directory that contains your module map.
- You're done! Compile your target and start using Firebase.
CocoaPods is the dependency manager that saves you from doing all the above manual procedures. It all comes down to a single text file called PodFile. If you use CocoaPods to install the Google Mobile Ads SDK, all you need is create a PodFile under your Xcode project with the following content:
source 'https://github.com/CocoaPods/Specs.git'

platform :ios, '9.0'

target 'BannerExample' do
  pod 'Firebase/Core'
  pod 'Firebase/AdMob'
end
When you run the pod install command, CocoaPods will download and install the specified libraries/dependencies for you.
This is why CocoaPods has its place. It simplifies the whole process by automatically finding and installing the frameworks, or dependencies require. You will experience the power of CocoaPods in a minute.
Setting Up CocoaPods on Your Mac
CocoaPods doesn't come with the macOS. However, setting up CocoaPods is pretty simple and straightforward. To install Cocoapods, navigate to the terminal and type the following commands:
sudo gem install cocoapods
This line of command installs the CocoaPods gem on your system. CocoaPods was built with Ruby, so it relies on the default Ruby available on macOS for installation. If you’re familiar with Ruby, gems in Ruby are similar to pods in CocoaPods.
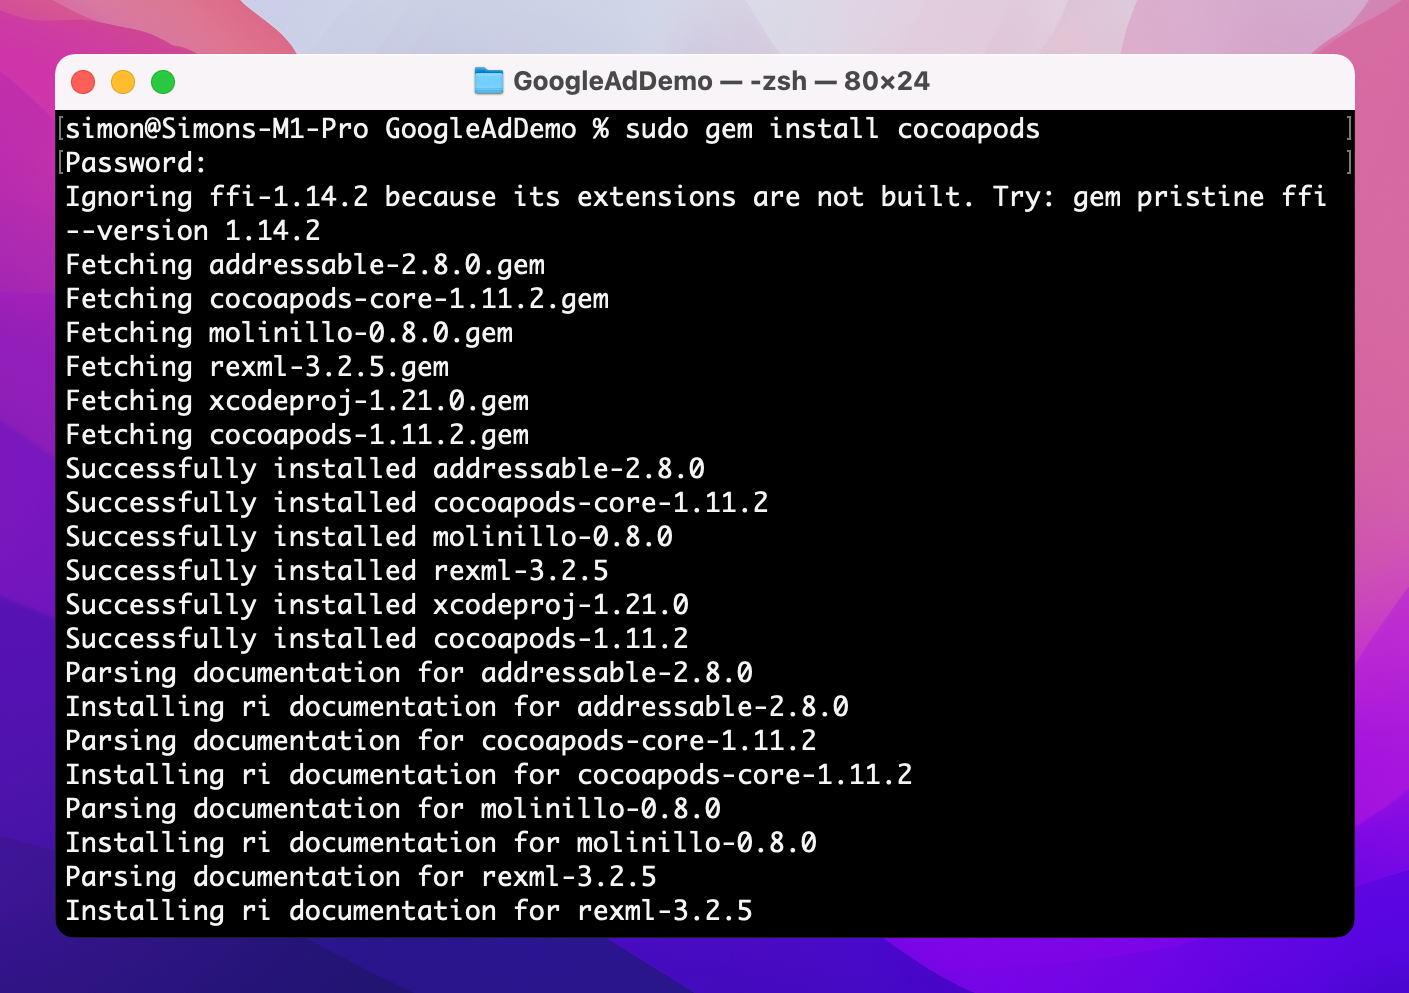
It’ll take several minutes to finish the installation. Just be patient, grab a cup of coffee, and wait the whole process to complete.
Using CocoaPods for Xcode Projects
Once you have CocoaPods installed on your Mac, let’s see how to use it. We will create a sample project and demonstrate how you can install the Google Mobile Ads SDK in the project using CocoaPods.
First, create a new Xcode project using the Single View Application template and name it GoogleAdDemo. Close the project and back in terminal. Use the cd (change directory) command to navigate to your new Xcode project. Assuming you save the project under Desktop, here is the command:
cd ~/Desktop/GoogleAdDemo
Next, we need to create what’s called a Podfile. A Podfile is a file that lives in the root of your project and is responsible for keeping track of all the pods you want to install. When you ask CocoaPods to install any pods or updates to your existing pods, CocoaPods will look to the Podfile for instructions.
To create a Podfile, simply type the following command:
pod init
CocoaPods then generates the Podfile like this:
# Uncomment the next line to define a global platform for your project
# platform :ios, '9.0'

target 'GoogleAdDemo' do
  # Comment the next line if you don't want to use dynamic frameworks
  use_frameworks!

  # Pods for GoogleAdDemo

end
That’s the basic structure of a Podfile. All you need to do is edit the file and specify your required pods. To use the Google Mobile Ads SDK, you have to edit the file like this:
# Uncomment the next line to define a global platform for your project
# platform :ios, '9.0'

target 'GoogleAdDemo' do
  # Comment the next line if you don't want to use dynamic frameworks
  use_frameworks!

  # Pods for GoogleAdDemo
  pod 'Google-Mobile-Ads-SDK'

end
We simply specify the Google-Mobile-Ads-SDK pods for the GoogleAdDemo project.
Before we move to the next step, let us go through the above configuration file:
- The Podfile describes the dependencies of the targets of your Xcode project. Therefore, we have to specify the target, which is GoogleAdDemo for this app project.
- The
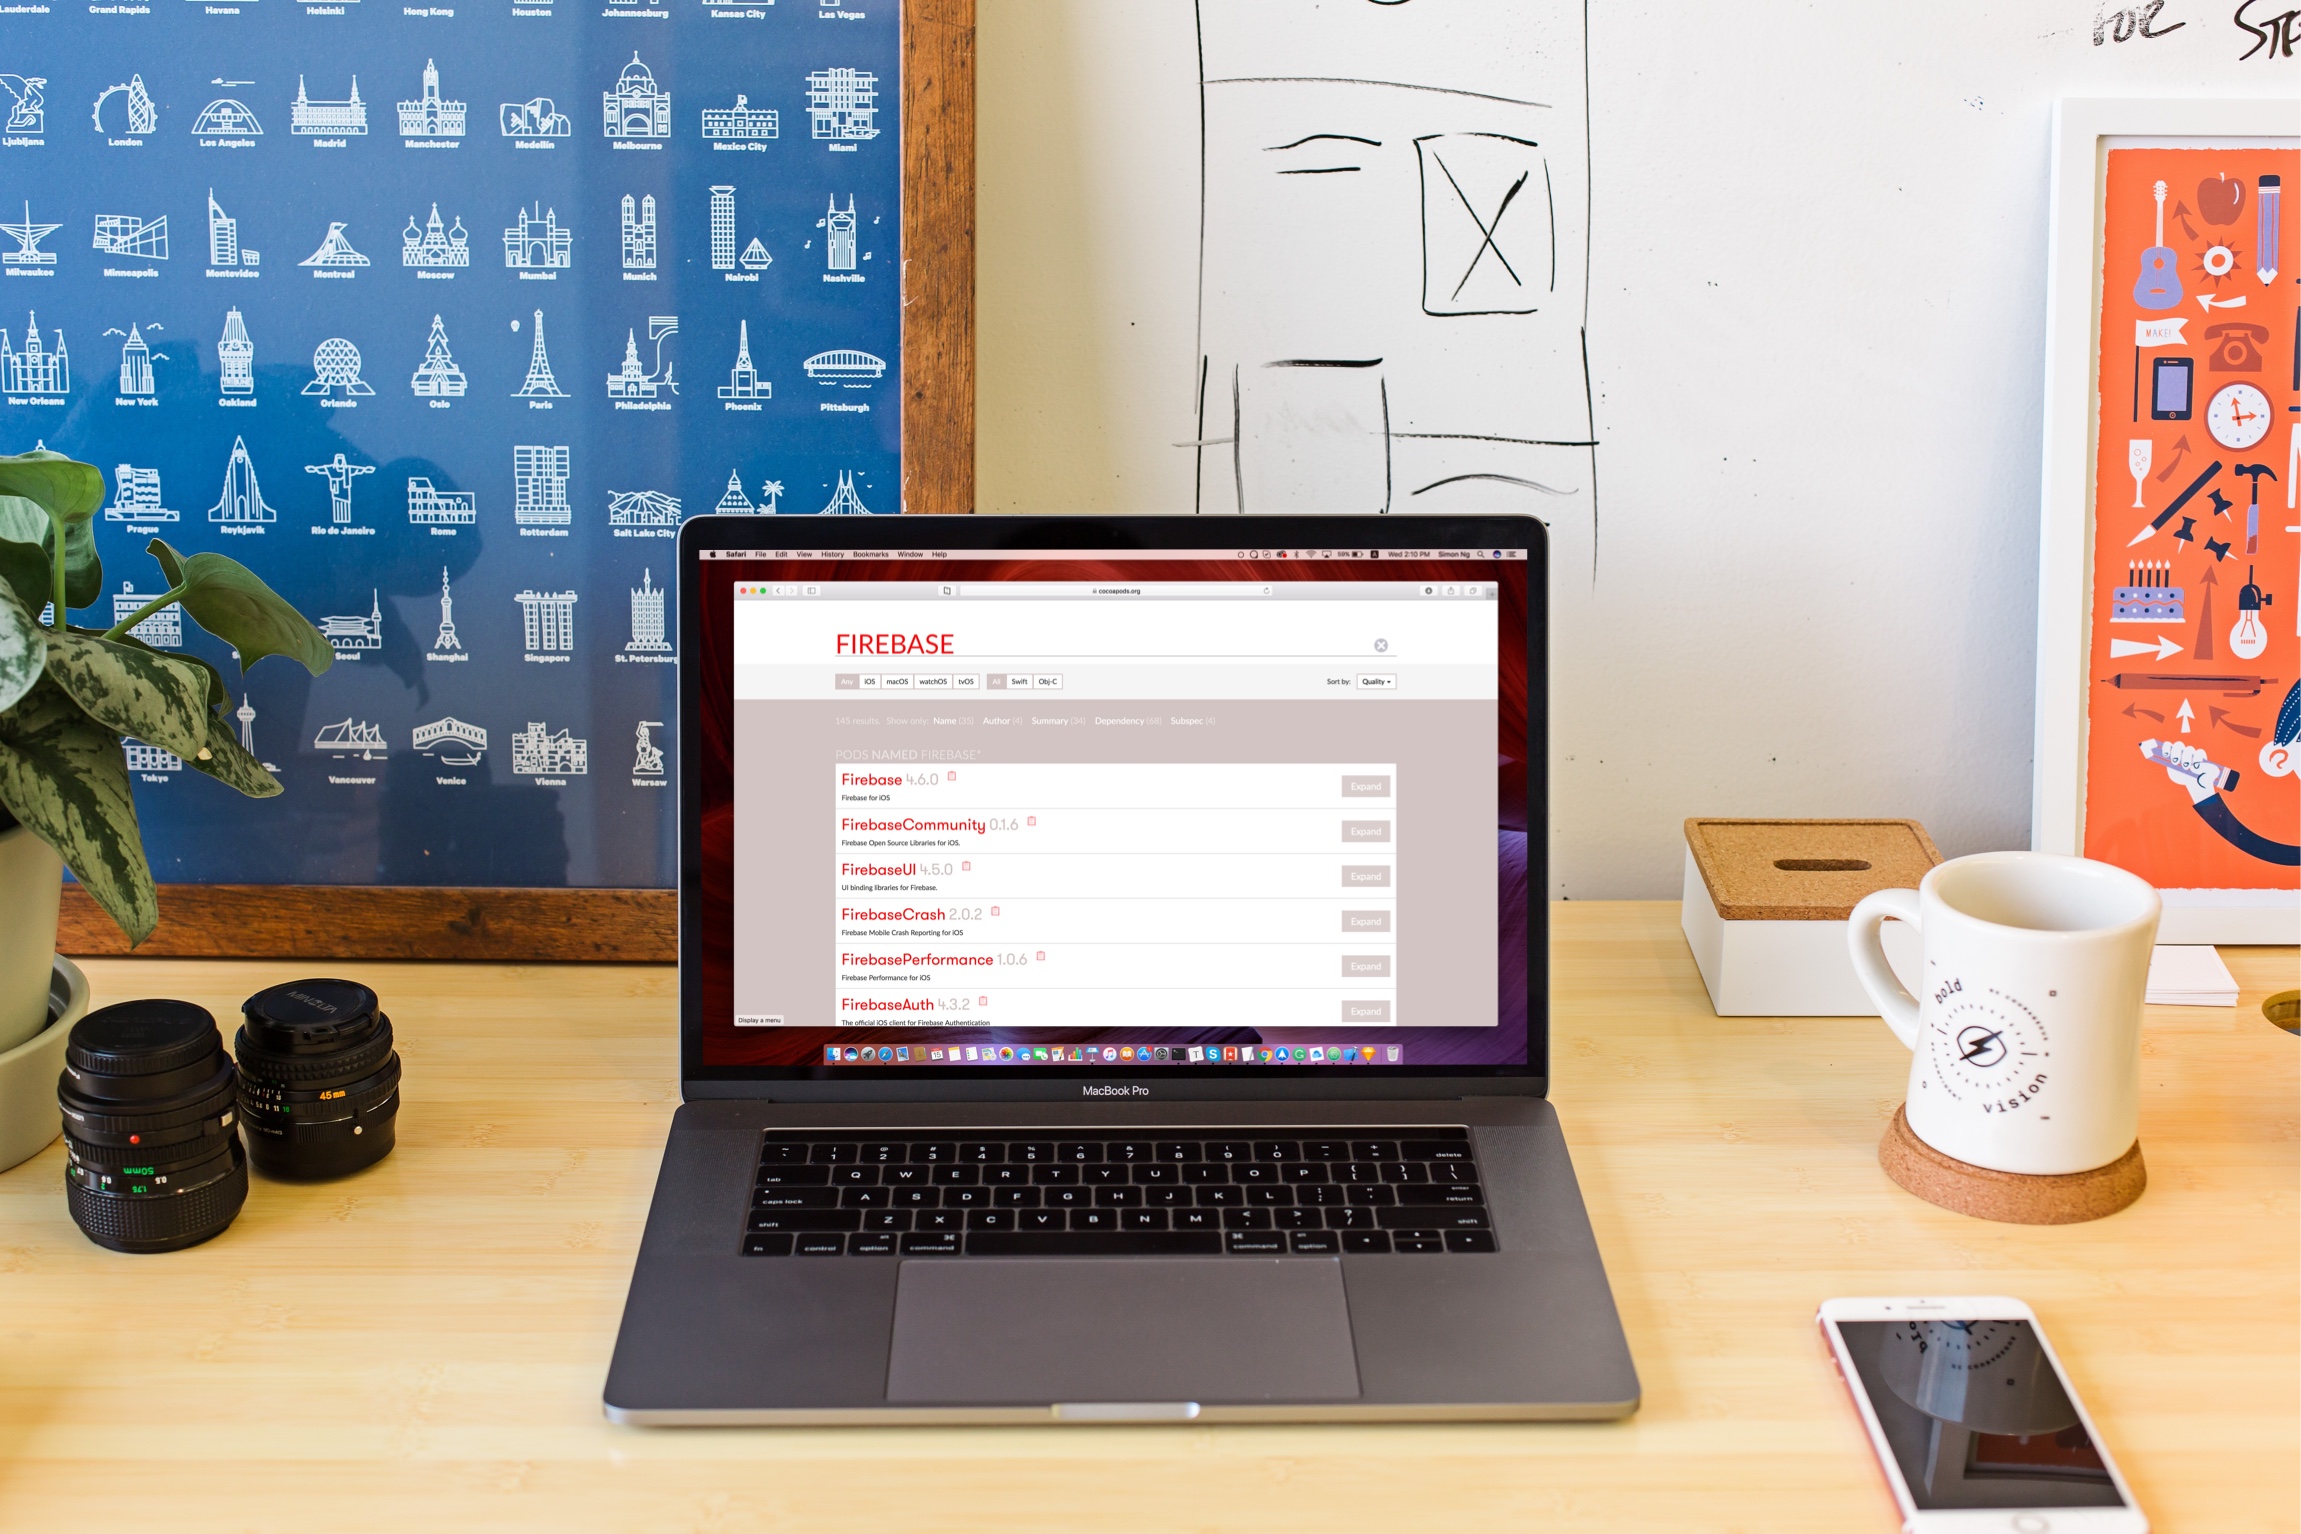
use_frameworksoption tells CocoaPods to use frameworks instead of static libraries. This is required for Swift projects. - The couple of lines that we have just inserted lets CocoaPods know that we need to use the Core and AdMob pods. You may wonder how do you know the pod name. Normally you can look it up in the documentation of the pod (here it is Google) or simply search it on cocoapods.org.
Note: You can check out the Google documentation at https://developers.google.com/admob/ios/quick-start.
Now that you should have a better understanding of the pod file, type the following command in the terminal to complete the last step:
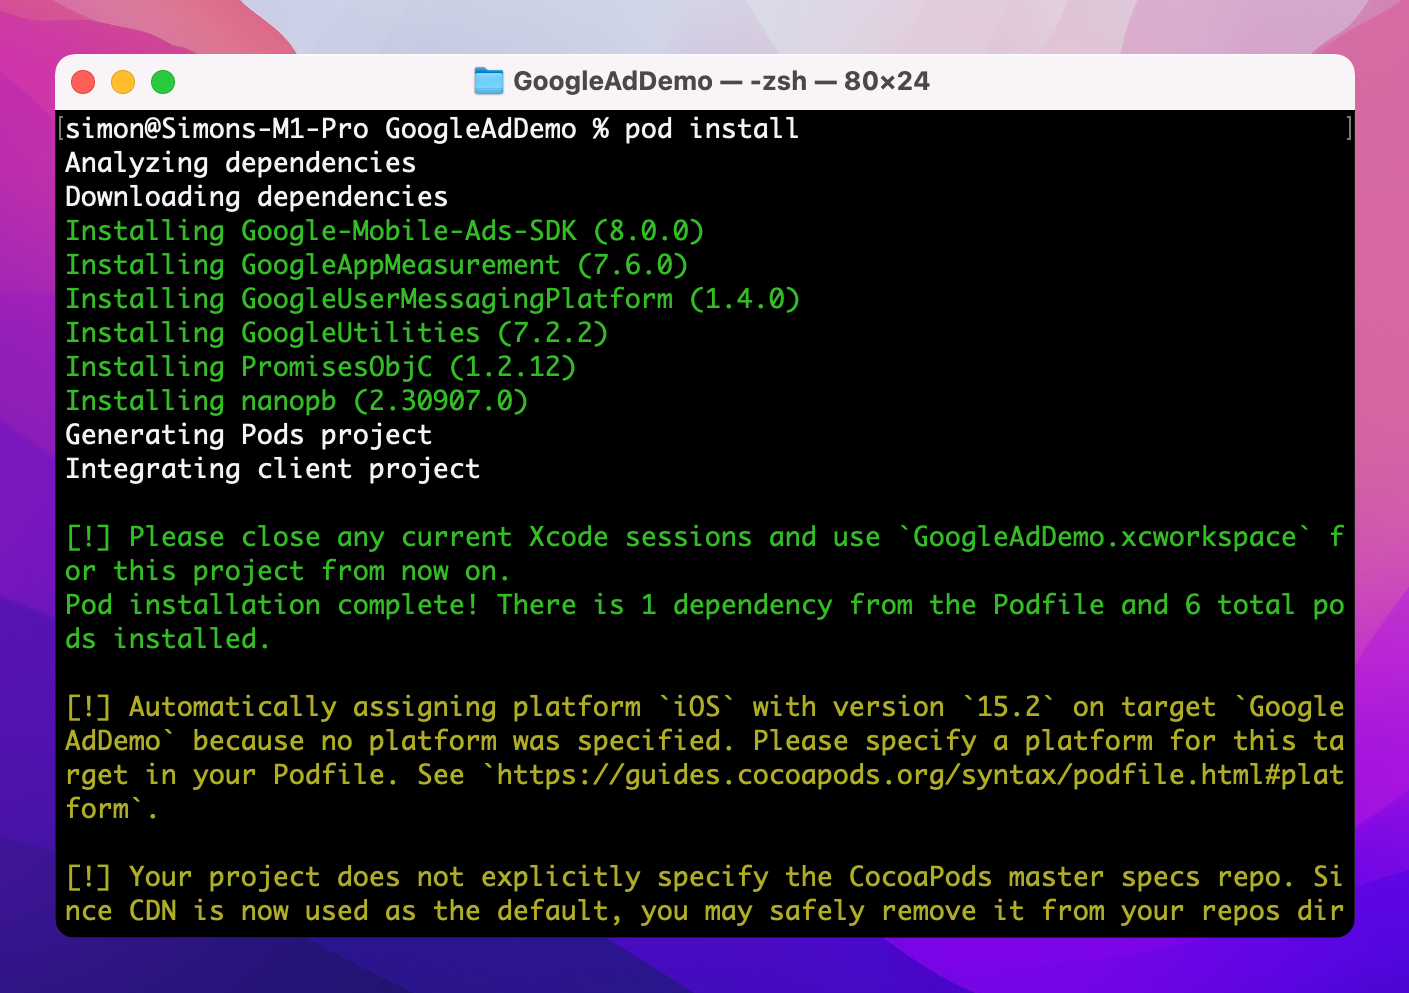
pod install
Cocoapods will now install the specified pods. After downloading the required pods, it creates a workspace file named GoogleAdDemo.xcworkspace. This workspace file bundles your original Xcode project, the Google-Mobile-Ads-SDK library and its dependencies.
Using the Xcode Workspace for Development
From now and onwards, make sure you use the generated workspace file for development. It is the file that bundles the original Xcode project and the Pod project with the required libraries.
If you open GoogleAdDemo.xcworkspace with Xcode, you should find both the GoogleAdDemo project and the Pod project, which contains the Firebase library.

A Word about the new M1 Mac
If you're using a Mac with the new M1 processor, you may encounter issues while running pod install. In this case, you may need to follow the procedures below to reinstall CocoaPods:
# Uninstall the local cocoapods gem
sudo gem uninstall cocoapods

# Reinstall cocoapods via Homebrew
brew install cocoapods
Next, add an alias in your .bash_profile file:
alias pod='arch -x86_64 pod'
Wrapping Up
CocoaPods is an incredibly simple tool that every iOS developer should have in his/her backpocket. I hope this chapter is clear cut and easy to follow. In future, when you need to use any third party libraries, consider to use CocoaPods rather than manually install the libraries.