- Made by AppCoda
- Contact us / Support
- Tweet this book
- Preface
- 1. Building Adaptive User Interfaces
- 2. Creating Table View Sections and Index list with Diffable Data Source
- 3. Animating Table View Cells
- 4. Working with JSON and Codable
- 5. How to Integrate the Twitter and Facebook SDK for Social Sharing
- 6. Working with Email and Attachments
- 7. Sending SMS and MMS Using MessageUI Framework
- 8. How to Get Direction and Draw Route on Maps
- 9. Search Nearby Points of Interest Using Local Search
- 10. Audio Recording and Playback
- 11. Scan QR Code Using AVFoundation Framework
- 12. Working with URL Schemes
- 13. Building a Full Screen Camera with Gesture-based Controls
- 14. Video Capturing and Playback Using AVKit
- 15. Displaying Banner Ads using Google AdMob
- 16. Working with Custom Fonts
- 17. Working with AirDrop, UIActivityViewController and Uniform Type Identifiers
- 18. Building Grid Layouts Using Collection Views and Diffable Data Source
- 19. Interacting with Collection Views
- 20. Adaptive Collection Views Using UITraitCollection and Compositional Layout
- 21. Building a Weather Widget Using WidgetKit
- 22. Building Slide Out Sidebar Menus Using Objective-C Libraries
- 23. View Controller Transitions and Animations
- 24. Building a Slide Down Menu
- 25. Self Sizing Cells and Dynamic Type
- 26. XML Parsing, RSS and Expandable Table View Cells
- 27. Applying a Blurred Background Using UIVisualEffect
- 28. Using Touch ID and Face ID For Authentication
- 29. Building a Carousel-Like User Interface
- 30. Working with Parse
- 31. Parsing CSV and Preloading a SQLite Database Using Core Data
- 32. Connecting Multiple Annotations with Polylines and Routes
- 33. Using CocoaPods in Swift Projects
- 34. Building a Simple Sticker App
- 35. Building iMessage Apps Using Messages Framework
- 36. Building Custom UI Components Using IBDesignable and IBInspectable
- 37. Using Firebase for User Authentication
- 38. Google and Facebook Authentication Using Firebase
- 39. Using Firebase Database and Storage to Build an Instagram-like App
- 40. Building a Real-time Image Recognition App Using Core ML
- 41. Building AR Apps with ARKit and SpriteKit
- 42. Working with 3D Objects in Augmented Reality Using ARKit and SceneKit
- 43. Use Create ML to Train Your Own Machine Learning Model for Image Recognition
- 44. Building a Sentiment Classifier Using Create ML to Classify User Reviews
- 45. Working with Image Tracking Using ARKit
- Published with GitBook
Chapter 32
Gesture Recognizers, Multiple Annotations with Polylines and Routes

In earlier chapters, we discussed how to get directions and draw routes on maps. Now you should understand how to use the MKDirections API to retrieve the route-based directions between two annotations and display the route on a map view.
What if you have multiple annotations on a map? How can you connect those annotations together and even draw a route between all those points?
This is one of the common questions from my readers. In this chapter, I will walk you through the implementation by building a working demo. Actually, I have covered the necessary APIs in chapter 8, so if you haven't read the chapter, I recommend you to check it out first.
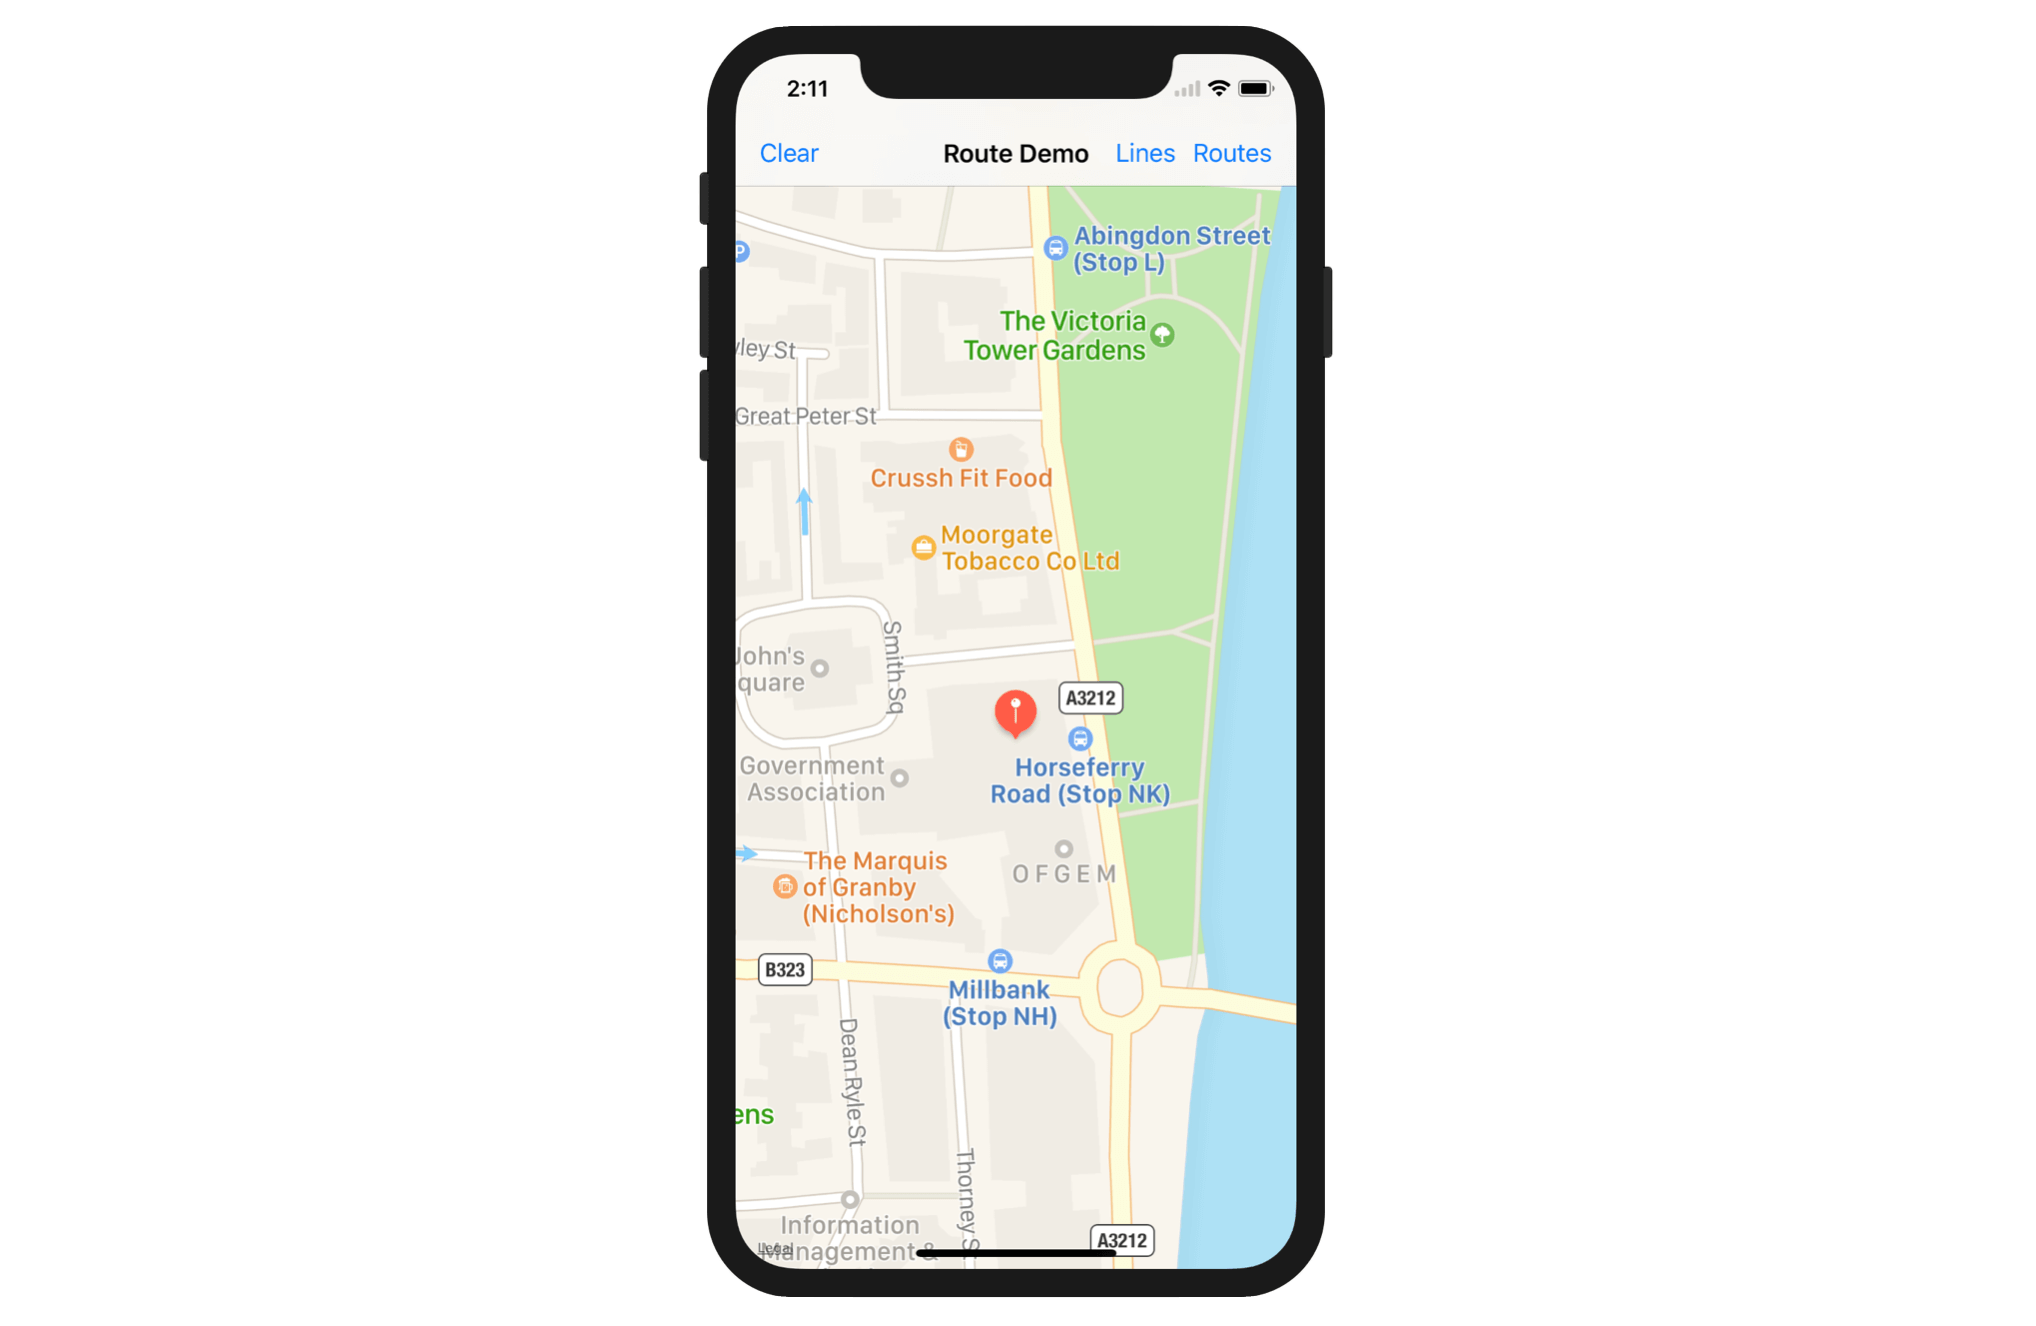
The Sample Route App
We will build a simple route demo app that lets users pin multiple locations by a simple press. The app then allows the user to display a route between the locations or simply connect them through straight lines.
You can start with this project template (http://www.appcoda.com/resources/swift55/RouteDemoStarter.zip). If you build the starter project, you should have an app showing a map view.
The RouteViewController is the view controller class associated with the view controller in the storyboard. And if you look into RouteViewController.swift, you will notice that I have connected the map view with the mapView outlet variable.
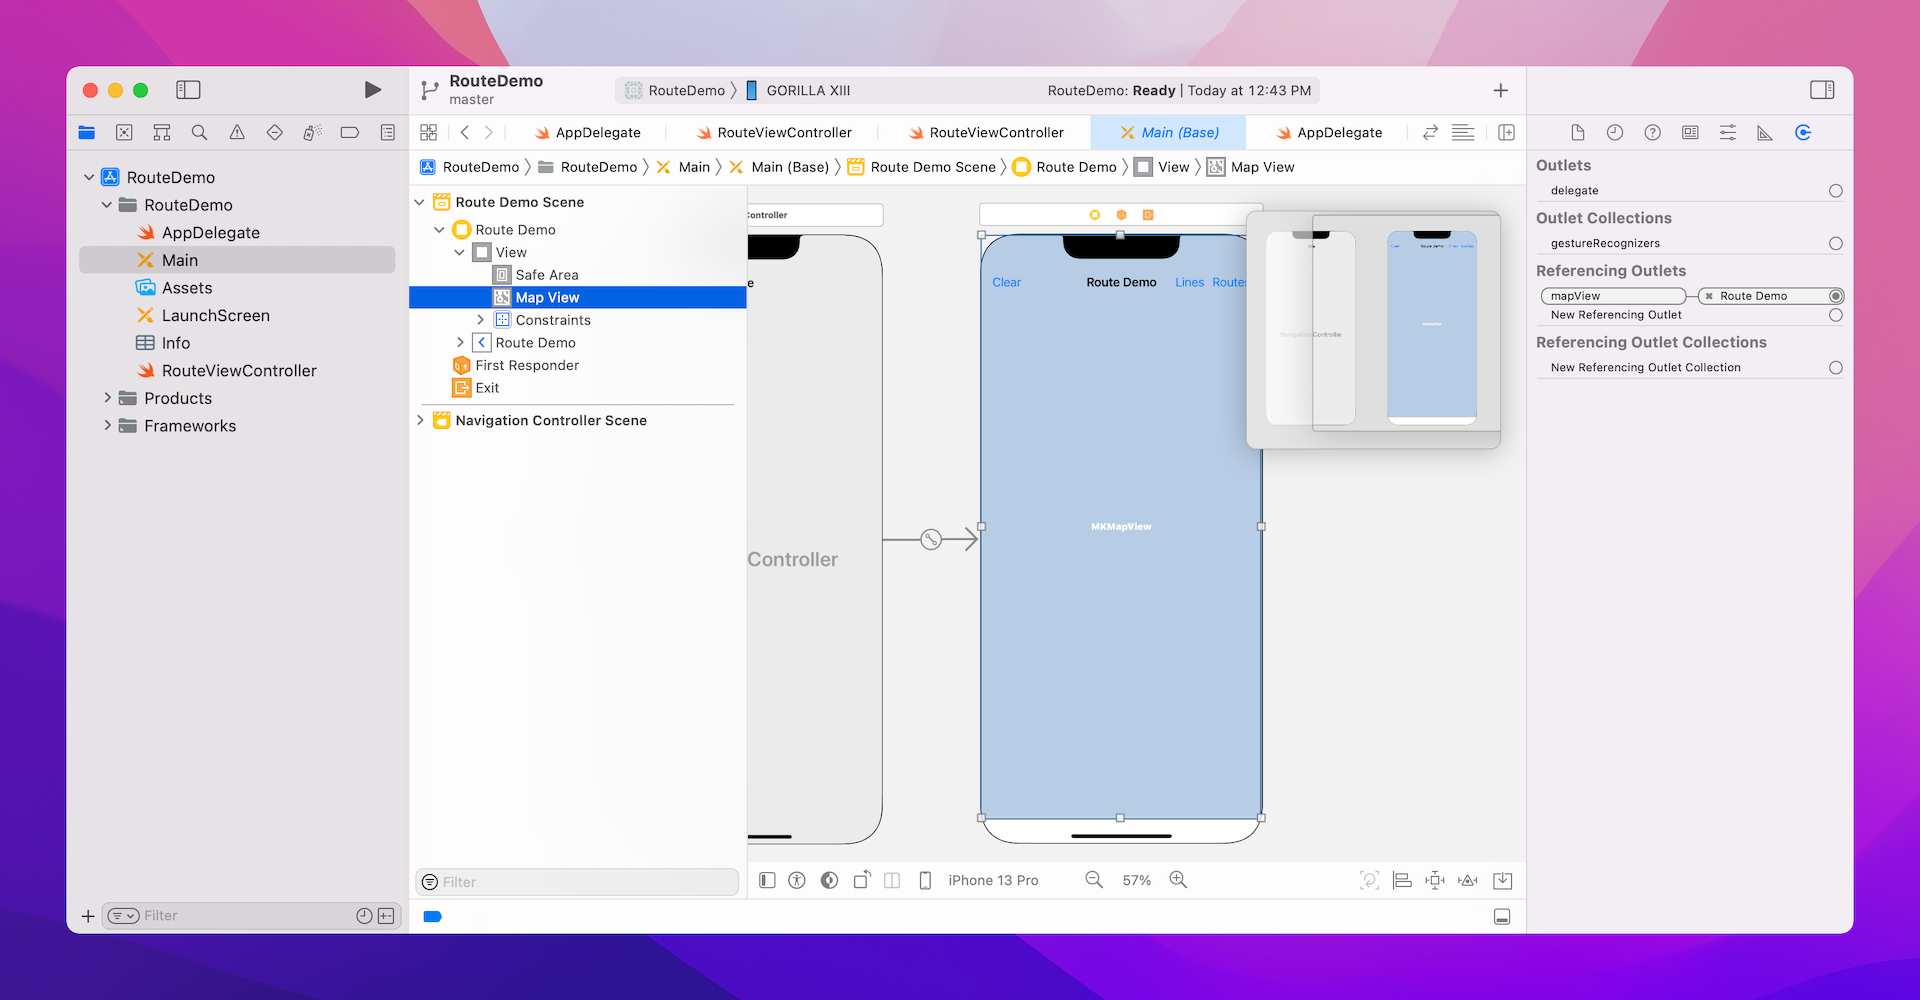
That's it for the starter project. We will now build on top of it and add more features.
Detecting a Touch Using Gesture Recognizers
First things first, users can pin a location on the map by using a finger press in the app. Apple provides several standard gesture recognizers for developers to detect a touch including:
UITapGestureRecognizer- for detecting a tap (or multiple taps)UIPinchGestureRecognizer- for detecting a pin (zoom-in and zoom-out)UIPanGestureRecognizer- for detecting a pan gestureUISwipeGestureRecognizer- for detecting a swipe gestureUIRotationGestureRecognizer- for detecting a rotation gesture (i.e. fingers moving in opposite directions)UILongPressGestureRecognizer- for detecting a "touch and hold" gesture
So which gesture recognizer should we use in our Route demo app? The obvious choice is to utilize UITapGestureRecognizer because it is responsible to detect a tap. However, if you've used the built-in Maps app before, you should know that you can zoom in the map by double tapping the screen. The problem of using UITapGestureRecognizer in this situation is that you have to find a way to differentiate between a single tap and a double tap.
To keep things simple, we will use UILongPressGestureRecognizer instead. This gesture recognizer will only trigger an action when the user presses a finger on a view and hold them there for a certain period of time. While its name suggests that the class is designed to look for long-press gestures, the duration of a press doesn't need to be over 10 seconds in order to be considered as a long press. You can actually configure the duration of the press through the minimumPressDuration property. So the duration of a long press can be set to 0.1 second or even shorter.
Let's now see how to utilize the UILongPressGestureRecognizer class.
Applying Gesture Recognizers
All predefined gesture recognizer classes are very easy to use. You just need to write a few lines of code, and your app is ready to detect certain gestures. For the demo app, we implement the UILongPressGestureRecognizer like below. You can insert the code snippet in the viewDidLoad method of the RouteViewController class.
let longpressGestureRecognizer = UILongPressGestureRecognizer(target: self, action: #selector(pinLocation))
longpressGestureRecognizer.minimumPressDuration = 0.3
mapView.addGestureRecognizer(longpressGestureRecognizer)
In the code above, we first instantiate an instance of UILongPressGestureRecognizer with a target and an action. When a long-press is recognized, the recognizer will trigger an action of a specific object. The target parameter tells the recognizer which object to connect with. And the action specifies the action method to call. Here we set the target to self (i.e. RouteViewController) and the action to pinLocation.
Note: We haven't implemented the pinLocation method yet, so it is normal that Xcode indicates an error for the first line of the above code. By using #selector, it will check your code at compile time to make sure the method you specify actually exists.
As mentioned before, you can specify how long a finger must press on a screen for the gesture to be recognized. We simply set the minimum press duration to 0.3 seconds.
Lastly, you should associate the gesture recognizer with a specific view. To make the association, you simply call the view's addGestureRecognizer method and pass the corresponding gesture recognizer. Since the map view is the view that interacts with the user's touch, we associate the long-press recognizer with the map view.
Pinning a Location on the Map
When the user presses a specific location on the map view, the gesture recognizer created earlier will call the pinLocation method of the RouteViewController class.
The method is created for pinning the selected location on the map. Specifically, here is what the method will do:
- Get the location of the press
- Convert the location from a point to a coordinate
- With the coordinate, annotate the location on the map
Now, implement the pinLocation like this:
@objc func pinLocation(sender: UILongPressGestureRecognizer) {
    if sender.state != .ended {
        return
    }

    // Get the location of the touch
    let tappedPoint = sender.location(in: mapView)

    // Convert point to coordinate
    let tappedCoordinate = mapView.convert(tappedPoint, toCoordinateFrom: mapView)

    // Annotate on the map view
    let annotation = MKPointAnnotation()
    annotation.coordinate = tappedCoordinate

    // Store the annotation for later use
    annotations.append(annotation)

    mapView.showAnnotations([annotation], animated: true)
}
When the method is called by the recognizer, it will pass a UILongPressGestureRecognizer object. The best practice is to check if the gesture has actually ended. All gesture recognizers provide a state property that stores the current state of the recognizer. We verify if the state equals .ended, otherwise, we simply return from the method.
You can use location(in:) of a gesture recognizer to get the location of the press. The method returns a point (in the form of CGPoint) that identifies the touch. To annotate this location on the map, we have to convert it from a point to a coordinate. The MKMapView class provides a built-in method named convert(_:toCoordinateFrom:) for this purpose.
With the coordinate of the location, we can create a MKPointAnnotation object and display it on the map view by calling showAnnotations.
In the above code, we also add the current annotation to an array. The annotations array stores all the pinned locations. Later we will use the data to draw routes.
To make the app work, remember to declare the annotations variable in the RouteViewController class:
private var annotations = [MKPointAnnotation]()
Now run the app to have a quick test. Press anywhere of the map to pin a location.
Drop Pin Animation
Beautiful, subtle animation pervades the iOS UI and makes the app experience more engaging and dynamic. Appropriate animation can: – Communicate status and provide feedback – Enhance the sense of direct manipulation – Help people visualize the results of their actions
– iOS Human Interface Guidelines, Apple
The bar has been raised. More and more apps are well-crafted with polished and thoughtful animations to delight their users. Your app may fall short of your users' expectations if you do not put in any efforts in designing these meaningful animations. I'm not talking about those big, 3D and fancy animations or effects. Instead, I'm referring to those subtle animations that set your app apart from the competition and better the user experience.
One great example is the hamburger button animation created by the CreativeDash team (https://dribbble.com/shots/1695411-Open-Close-Source). When you tap the hamburger button, it turns into a close button with a really nice transition. Though the animation is subtle, it helps maintain continuity and gives a meaningful transition.
Now let's take a look at the Route demo app again. When a user presses on the map to pin a location, it just shows an annotation right away. Wouldn't it be great if we add a drop pin animation?
To create the animation, we have to adopt the MKMapViewDelegate protocol. The protocol defines the mapView(_:didAdd:) method that is called when an annotation view is about to add to the map:
optional func mapView(_ mapView: MKMapView, didAdd views: [MKAnnotationView])
By implementing this method, we can provide a custom animation before the annotation appears on the map. Adopt the protocol and implement the method using an extension:
extension RouteViewController: MKMapViewDelegate {
    func mapView(_ mapView: MKMapView, didAdd views: [MKAnnotationView]) {
        let annotationView = views[0]
        let endFrame = annotationView.frame
        annotationView.frame = endFrame.offsetBy(dx: 0, dy: -600)
        UIView.animate(withDuration: 0.3, animations: { () -> Void in
            annotationView.frame = endFrame
        })
    }
}
The frame property of the annotation provides the resulting position of the pin. In order to create a drop pin animation, we first change the position of the frame (i.e. pin) by offsetting its vertical position. The start position of the pin is now a bit higher than the resulting position. We then call the animate(withDuration:animations:) method of UIView to create the drop pin animation.
Lastly, insert the following line of code in the viewDidLoad method to specify the delegate of the map view:
mapView.delegate = self
Run the app again. Press on the map using a single finger, and then release it. The app should display a pin with an animation.
Connecting Annotations with Polylines
Now that your users should be able to pin multiple locations on the map, the next thing we are going to do is to connect the annotations with line segments. Technically speaking, it means we need to create an MKPolyline object from a series of points or coordinates. MKPolyline is a class that can be used to represent a connected sequence of line segments. You can create a polyline by constructing a MKPolyline object with a series of end-points.

Now let's create a drawPolyline action method in the RouteViewController class:
@IBAction func drawPolyline() {
    mapView.removeOverlays(mapView.overlays)

    var coordinates = [CLLocationCoordinate2D]()
    for annotation in annotations {
        coordinates.append(annotation.coordinate)
    }

    let polyline = MKPolyline(coordinates: &coordinates, count: coordinates.count)

    mapView.addOverlay(polyline)
}
You can create a MKPolyline object by specifying the series of map points or coordinates. In this case, we use the latter option. So we first retrieve all the coordinates of the annotations and store them into the coordinates array. Then we use the coordinates to construct a MKPolyline object. To display a shape or line segments on a map, you use overlays to layer the content over the map. Here the MKPolyline object is the overlay object. You can simply call the add method of a map view to add the overlay object.
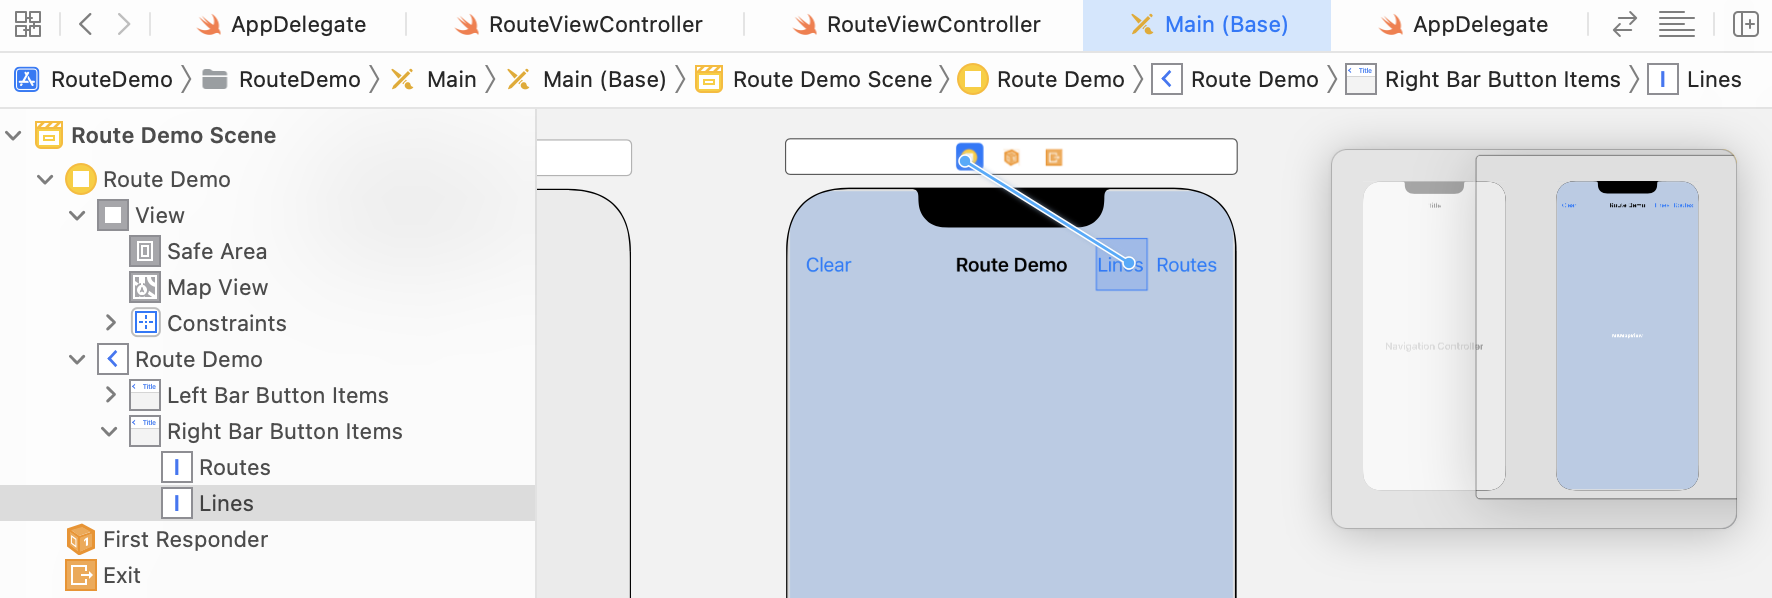
The drawPolyline method will be called when the user taps the Lines button. We haven't associated the Lines button with the drawPolyline method yet. Now, go to the Main storyboard. Control-drag from the Lines button to the view controller icon of the dock. In the pop-over menu, select drawPolyline to connect with the method.
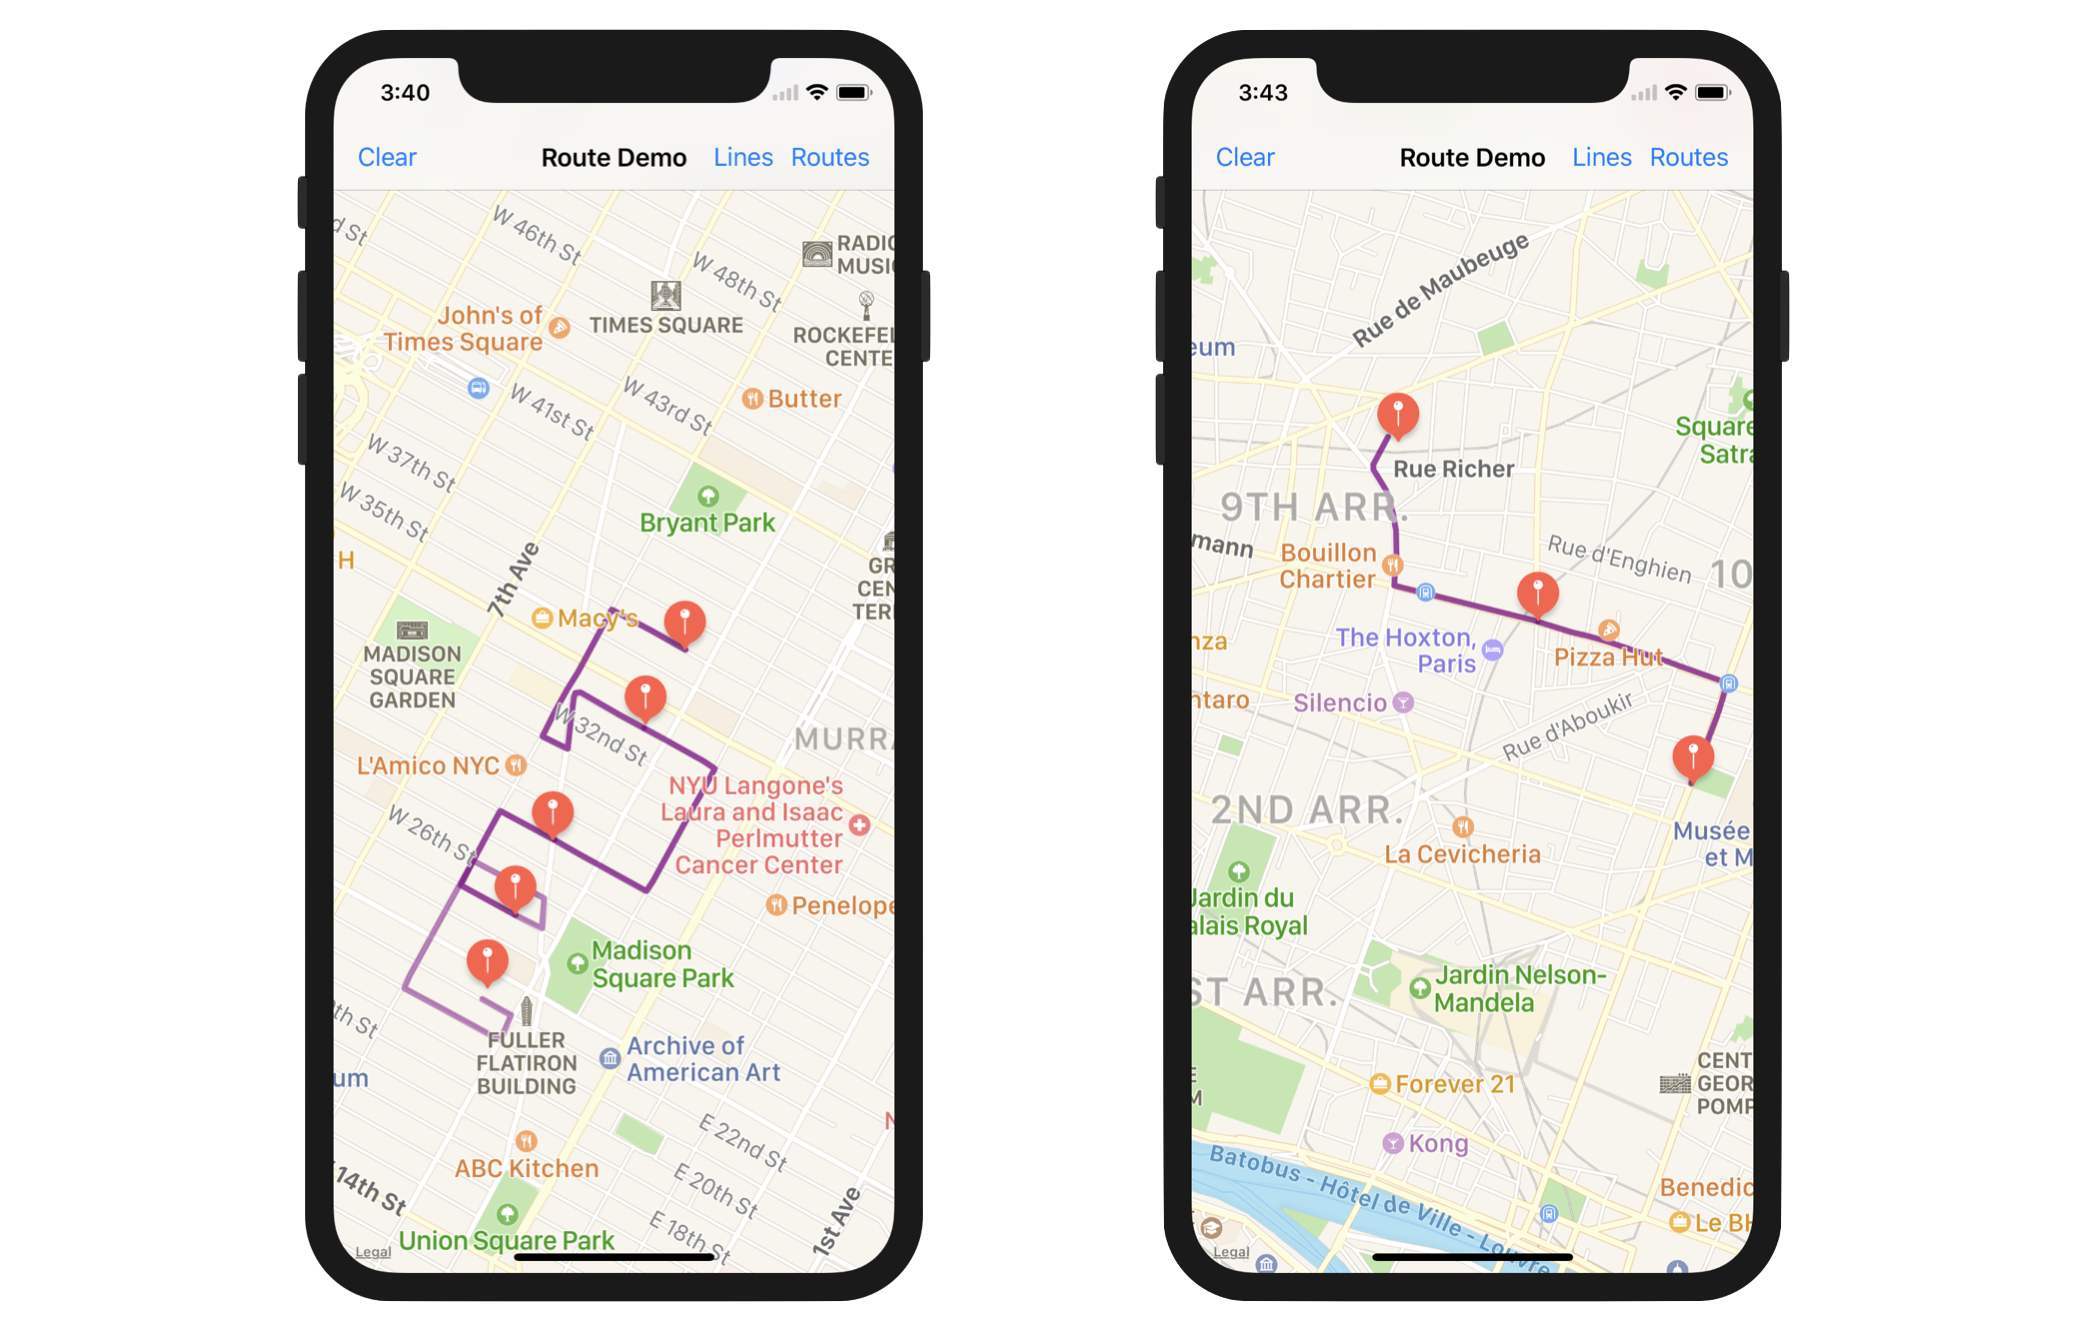
Before moving on, let's do a quick test. Run the app, pin several locations on the map, and tap the Lines button. If you expect the app connects the locations with lines, you will be disappointed.
Why? Did we miss anything?
The overlay object (i.e. MKPolyline object) added to the map view is actually a data object. It only contains the points needed to provide the location of the overlay on the map. The add method is not responsible to draw the overlay's content onto the screen.
Instead, the presentation of an overlay is handled by an overlay renderer object, which is an instance of the MKOverlayRenderer class. Every time when an overlay moves onscreen, the map view calls the mapView(_:rendererFor:) method of its delegate to ask for the corresponding overlay renderer object. Since we haven't implemented the method, the map view has no ideas how to render the overlay.
Now implement the required method in the extension:
func mapView(_ mapView: MKMapView, rendererFor overlay: MKOverlay) -> MKOverlayRenderer {
    let renderer = MKPolylineRenderer(overlay: overlay)
    renderer.lineWidth = 3.0
    renderer.strokeColor = UIColor.purple
    renderer.alpha = 0.5

    return renderer
}
Before drawing the line segments, we first remove all the existing overlays on the map view. MKPolylineRenderer, a subclass of MKOverlayRenderer, provides the visual representation for the MKPolyline overlay object. The renderer object has several properties for developers to customize the rendering. In the above code, we change the line width, stroke color, and alpha value.
Now re-run the project. This time the map view should be able to draw the overlay on the screen.
However, there is a problem with the current implementation. You have to manually zoom out the map in order to view the route. To offer a better user experience, insert the following lines of code in the above method (place them before return renderer):
let visibleMapRect = mapView.mapRectThatFits(renderer.polyline.boundingMapRect, edgePadding: UIEdgeInsets(top: 50, left: 50, bottom: 50, right: 50))
mapView.setRegion(MKCoordinateRegion(visibleMapRect), animated: true)
Based on the given polyline, the mapRectThatFits method computes the new viewable area of the map that fits the polyline. Optionally, you can add a padding to the new map rectangle. Here, we set the padding value for each side to 50 points. With the new map rectangle, we call setRegion of the map view to change the visible region accordingly.
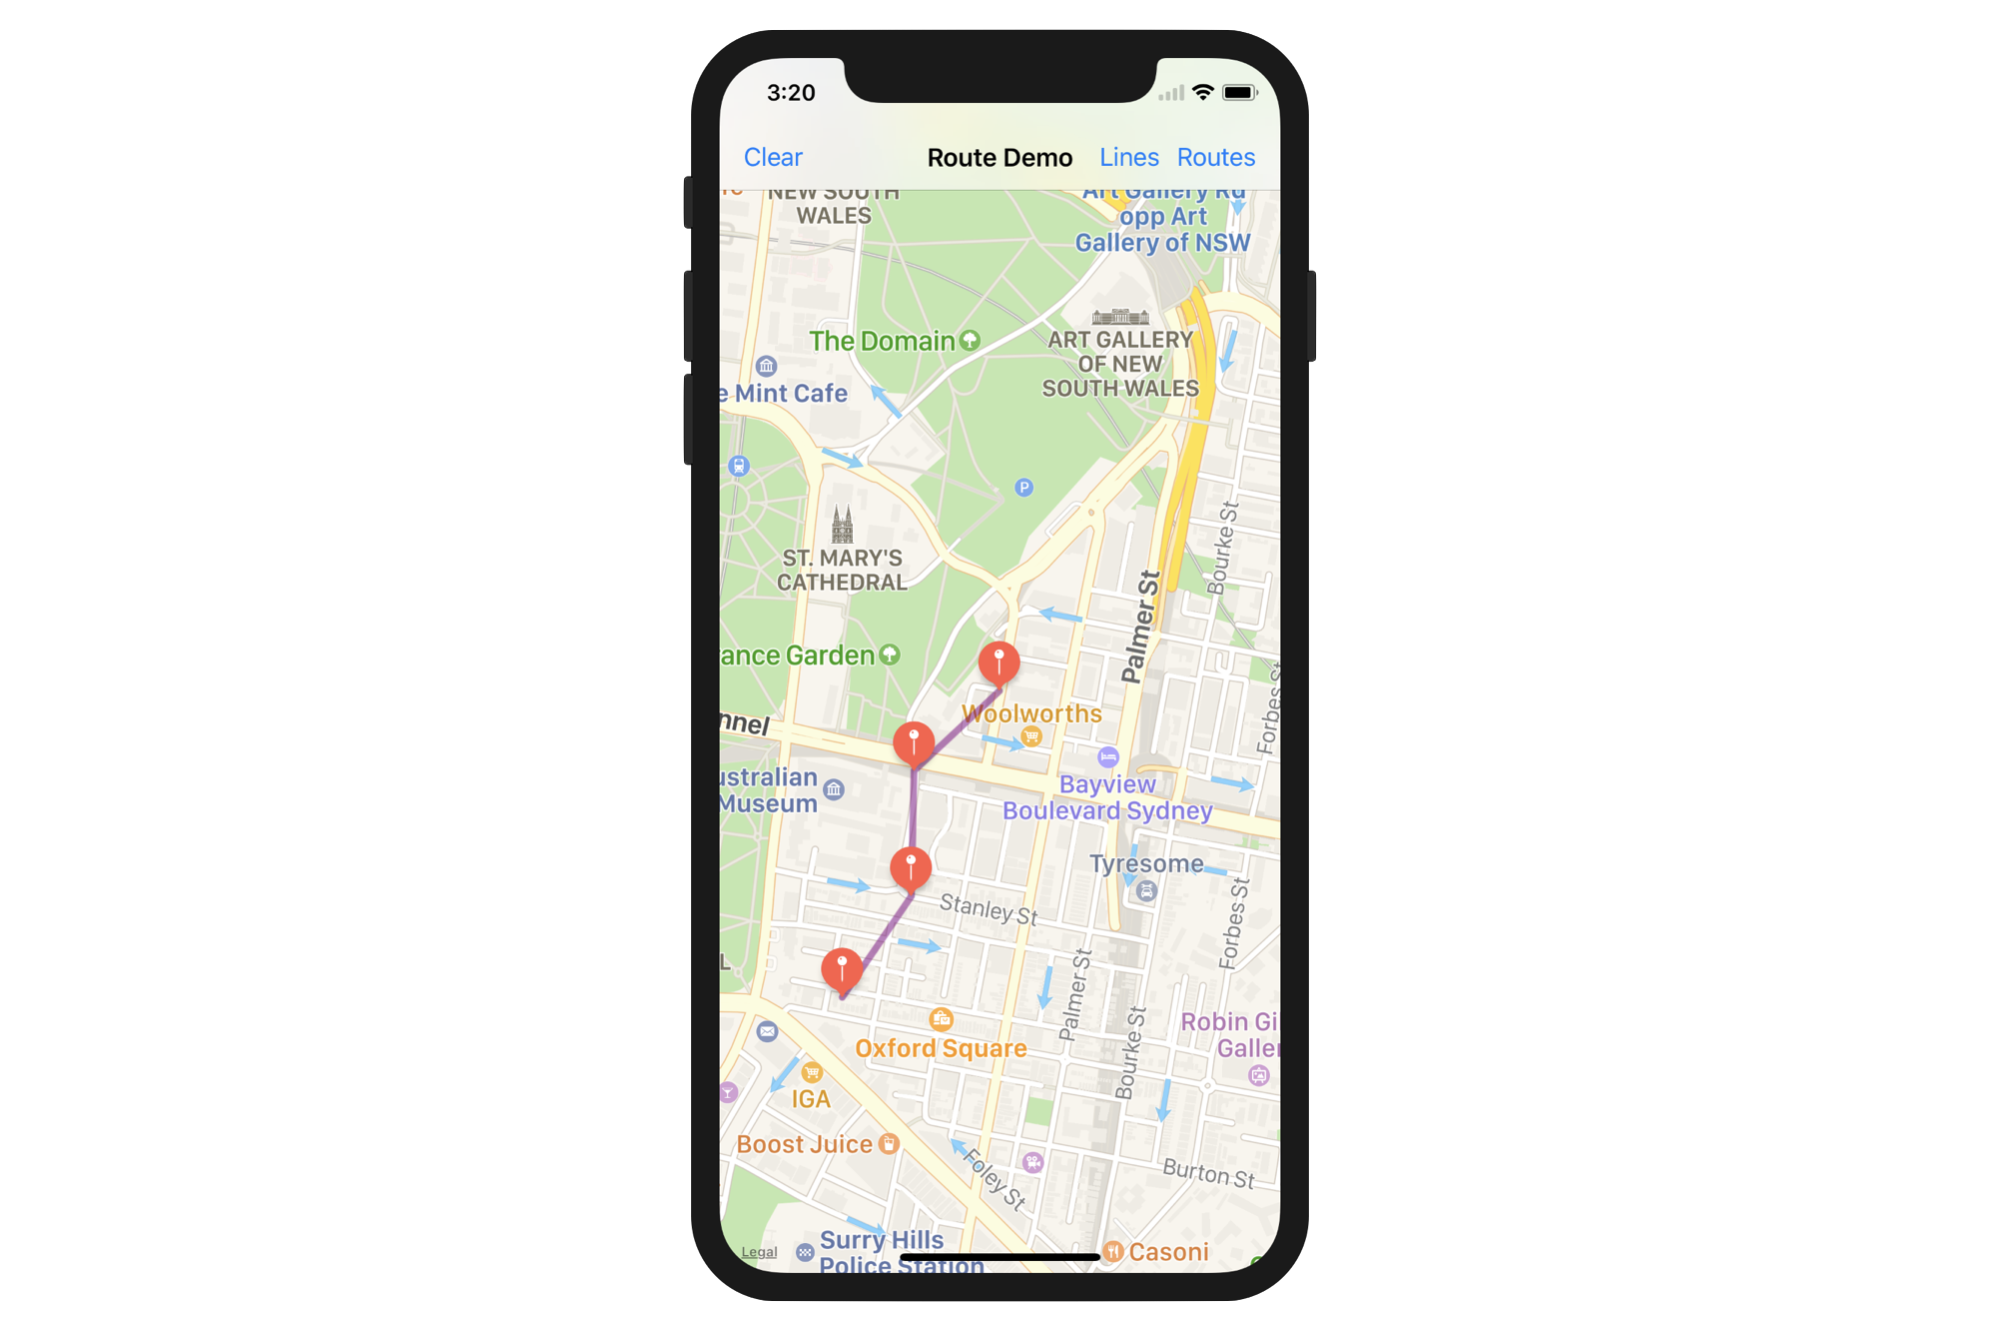
Connecting Annotations with Routes
It's pretty easy to connect the points with line segments, right? But that doesn't give users a lot of information. Instead, we want to display the actual routes between the annotations.
In the earlier chapter, we've explored the MKDirection API that allows developers to access the route-based direction data from Apple's server. To draw the actual routes, here is what we're going to do:
- Assuming we have three annotations on the map, we will first search for the route between point 1 and point 2 using the
MKDirectionAPI. - Display the route on the map using overlay.
- Repeat the above steps for point 2 and point 3.
- If there are more than three annotations, just keep repeating the steps for the rest of the annotations.
Let's first create the method for computing the direction and drawing between two coordinates. Insert the following method into the RouteViewController class:
func drawDirection(startPoint: CLLocationCoordinate2D, endPoint: CLLocationCoordinate2D) {

    // Create map items from coordinate
    let startPlacemark = MKPlacemark(coordinate: startPoint, addressDictionary: nil)
    let endPlacemark = MKPlacemark(coordinate: endPoint, addressDictionary: nil)
    let startMapItem = MKMapItem(placemark: startPlacemark)
    let endMapItem = MKMapItem(placemark: endPlacemark)

    // Set the source and destination of the route
    let directionRequest = MKDirections.Request()
    directionRequest.source = startMapItem
    directionRequest.destination = endMapItem
    directionRequest.transportType = MKDirectionsTransportType.automobile

    // Calculate the direction
    let directions = MKDirections(request: directionRequest)

    directions.calculate { (routeResponse, routeError) -> Void in

        guard let routeResponse = routeResponse else {
            if let routeError = routeError {
                print("Error: \(routeError)")
            }

            return
        }

        let route = routeResponse.routes[0]
        self.mapView.addOverlay(route.polyline, level: MKOverlayLevel.aboveRoads)
    }
}
The drawDirection method takes in the coordinates of the two annotations. It then converts the coordinate into MKMapItem and creates a direction request for the two map items. For demo purpose, we just set the transportation type to auto mobile. To initiate the request, we call the calculate(completionHandler:) method, which creates an asynchronous request for directions and calls the completion handler when the operation completes. Once the route information computed, we display it on the map as an overlay.
Now that we have a function for calculating the direction between two points, let's create the action method that loops through all the annotations:
@IBAction func drawRoute() {
    mapView.removeOverlays(mapView.overlays)

    var coordinates = [CLLocationCoordinate2D]()
    for annotation in annotations {
        coordinates.append(annotation.coordinate)
    }

    var index = 0
    while index < annotations.count - 1 {
        drawDirection(startPoint: annotations[index].coordinate, endPoint: annotations[index + 1].coordinate)
        index += 1
    }
}
This method is called when the user taps the Routes button in the navigation bar. It first removes the existing overlay, and then retrieve all the annotations on the map view. Lastly, it makes use of the drawDirection method, that we have just created, to calculate the routes between the annotations.
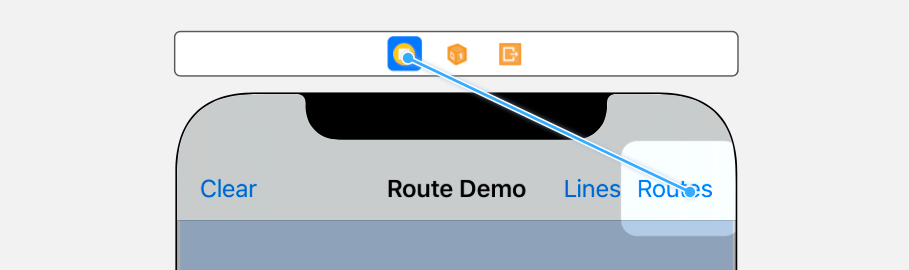
We haven't associated the Routes button with the drawRoute method. Open the Main storyboard and control-drag from the Routes button to the view controller icon. Select drawRoute from the pop-over menu to make the connection.
You're now ready to test the app again. Pin a few locations and tap the Routes button. The app should compute the directions for you.
One thing you should notice is that the map didn't zoom out to fit the routes automatically. You can make the app even better by inserting the following code snippet in the drawRoute method (just put it right before var index = 0):
let polyline = MKPolyline(coordinates: &coordinates, count: coordinates.count)
let visibleMapRect = mapView.mapRectThatFits(polyline.boundingMapRect, edgePadding: UIEdgeInsets(top: 50, left: 50, bottom: 50, right: 50))
self.mapView.setRegion(MKCoordinateRegion(visibleMapRect), animated: true)
Like before, we estimate the preferred size of the map by creating a polyline object for all annotations. Next, we calculate the new aspect ratio of the map view and set the padding for each side by calling the mapRectThatFits method. With the new map rectangle, we invoke the setRegion method of the map view to adjust the scale.
After the changes, the map should zoom out automatically to display the route within the screen real estate.
Removing Annotations
The app is almost complete. Currently, there is no way for users to clear the annotations. So, insert the removeAnnotations method in the RouteViewController class:
@IBAction func removeAnnotations() {

    // Remove annotations and overlays
    mapView.removeOverlays(mapView.overlays)
    mapView.removeAnnotations(annotations)

    // Clear the annotation array
    annotations.removeAll()
}
To remove all the annotations from the map view, simply call the removeAnnotations method with the annotations array. Since the annotations are removed, we have to reset the annotations array and clear the overlays accordingly.
Lastly, go to storyboard and connect the Clear button with the removeAnnotations method. That's it. The demo app is now complete. Test it again on the simulator or a real device.
For reference, you can download the complete Xcode project from http://www.appcoda.com/resources/swift55/RouteDemo.zip.